
Installation How To
Installation
Everything you need to install your new mirror or frame. Select your product below to get started.
What are you installing?


Install Your Add A Frame®
Watch the Installation
See the full Add A Frame® installation process from assembly through final placement.
Before you begin: Fully assemble and test-fit your frame before removing any adhesive backing.

Assemble Your Frame
Join the four frame pieces using the included glue and wedges. Allow the frame to set according to the provided instructions.

Test Fit the Frame
Hold the assembled frame in position and confirm the fit before removing any adhesive backing.

Position the Corner Guides
With the frame in its final position, secure the corner guides inside the upper corners to mark your alignment.

Align From the Top
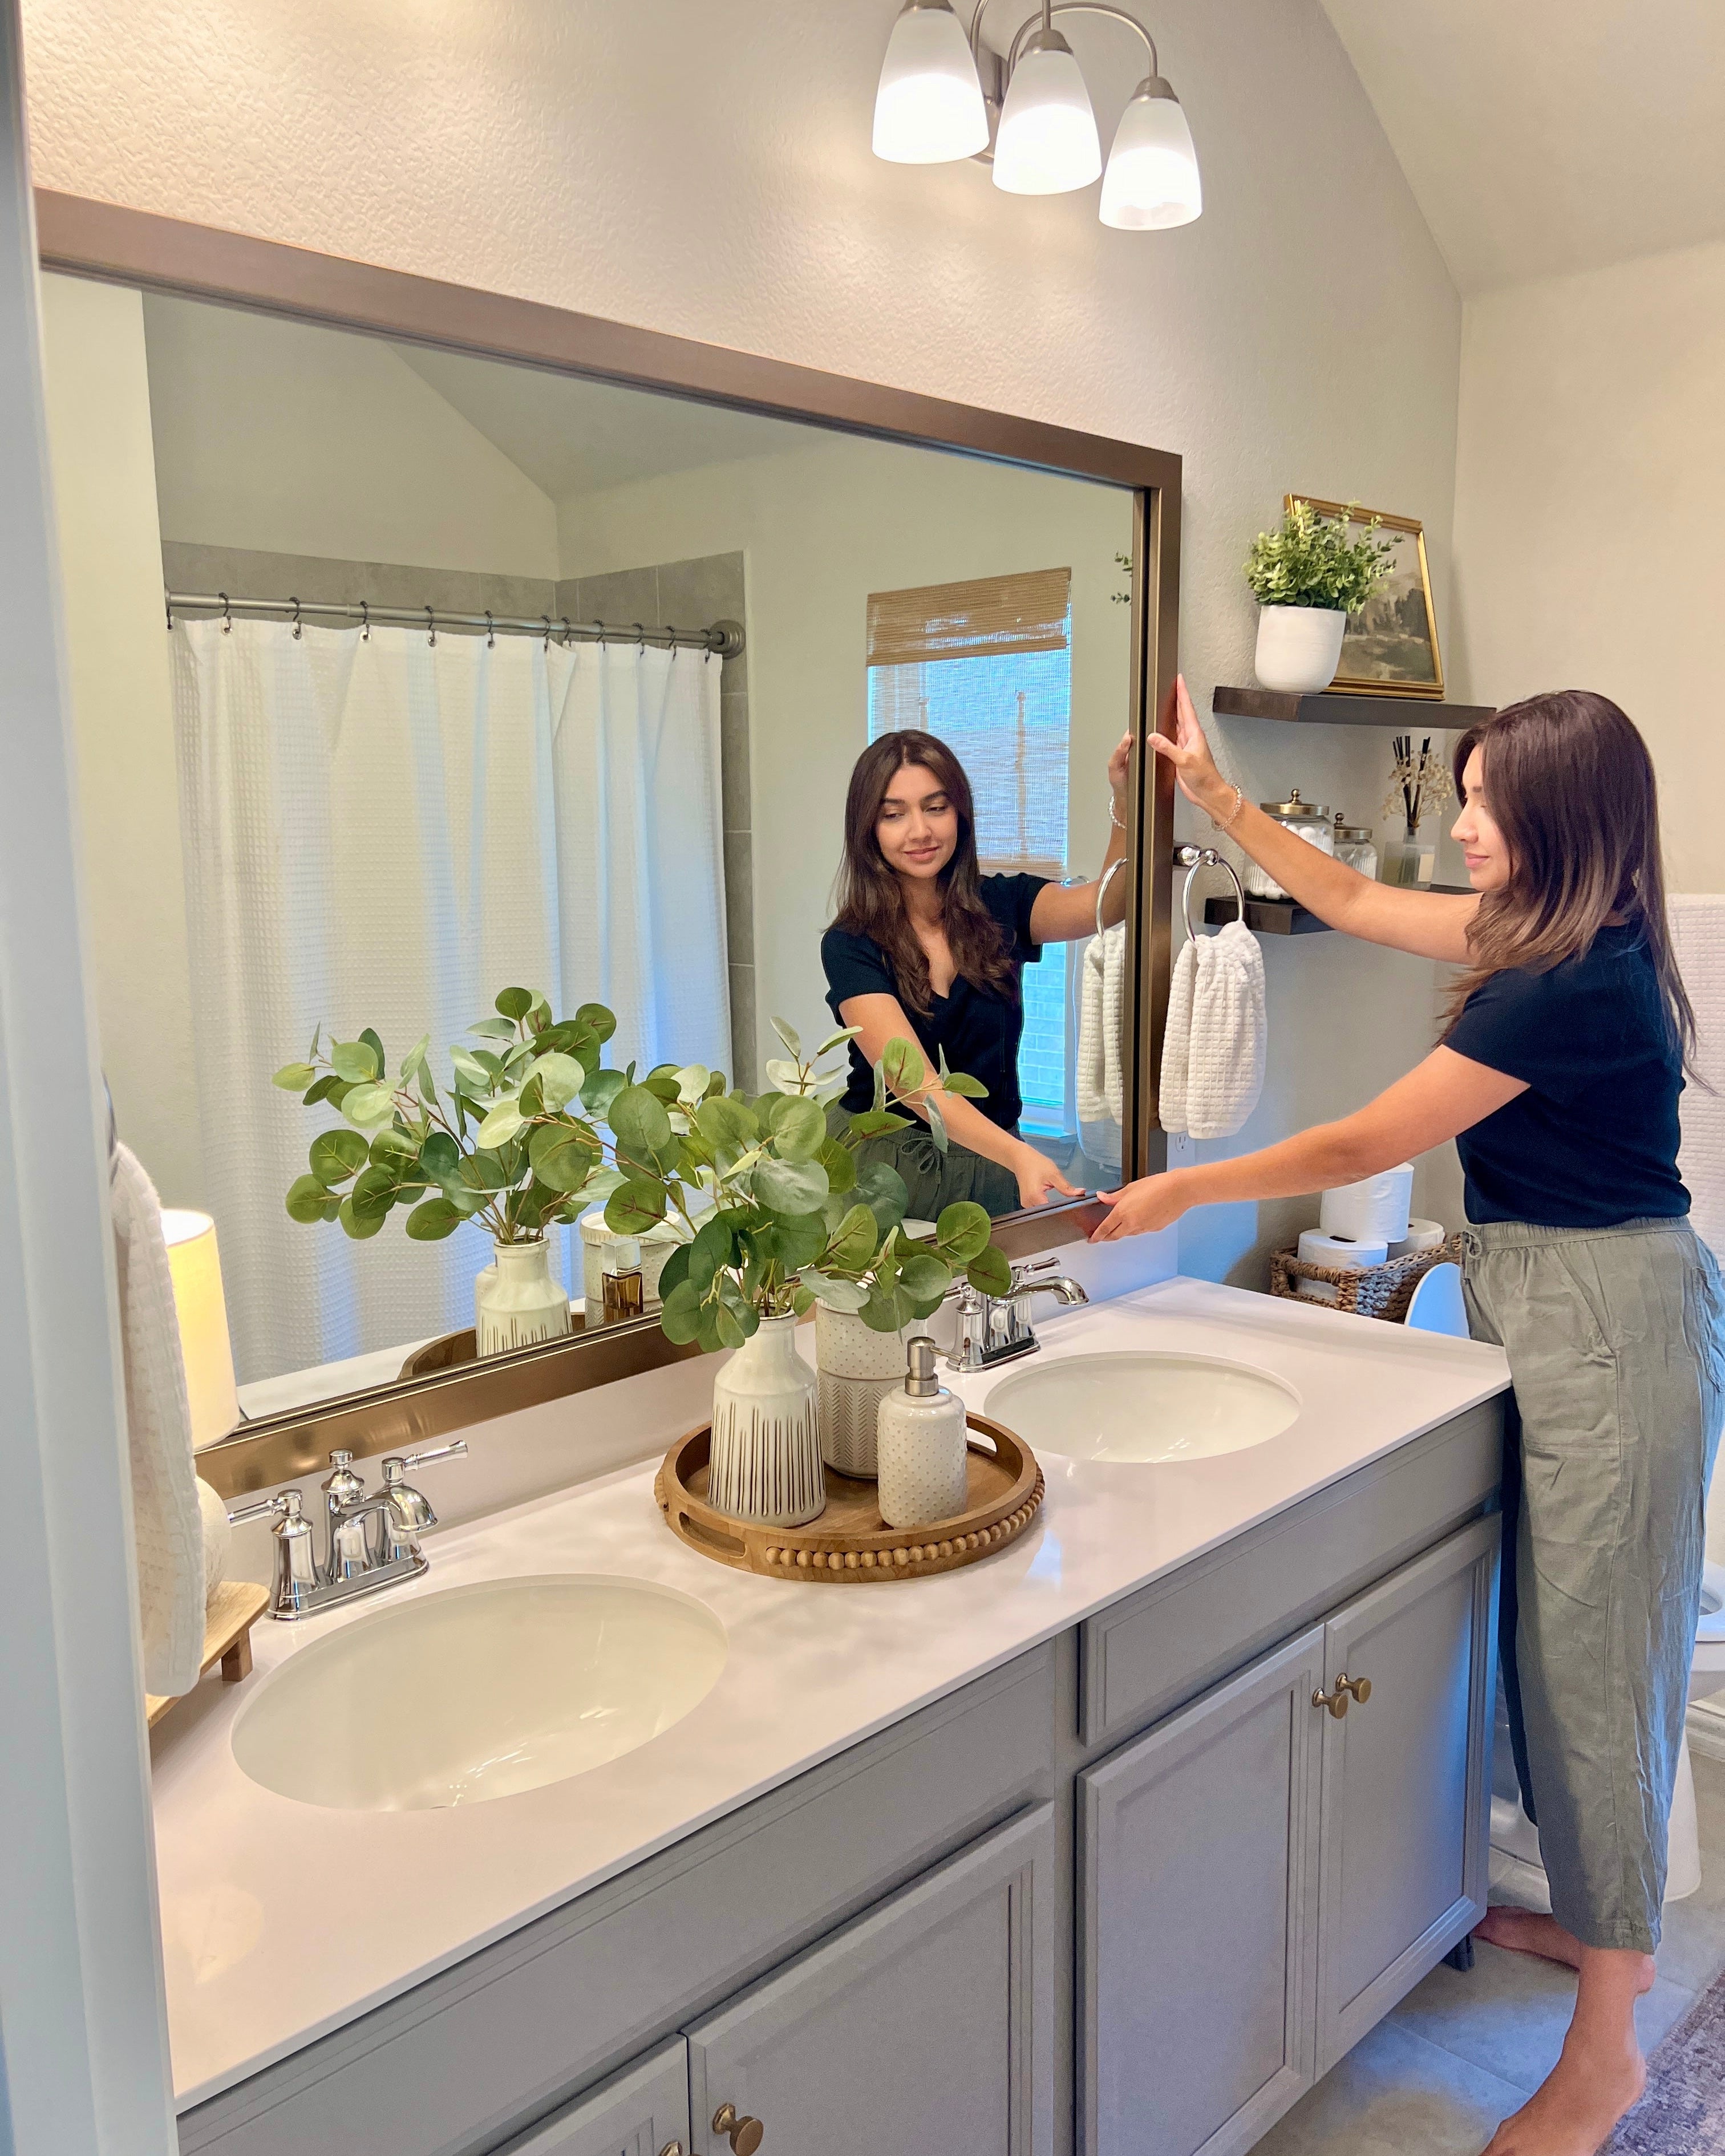
Remove the adhesive backing and align the upper corners of your frame with the corner guides before allowing the rest of the frame to contact the mirror.

Press Into Place
Once aligned, press firmly along all four sides of the frame to secure the adhesive to the mirror.

Enjoy Your New Mirror
Step back and enjoy your newly framed mirror.
What Is Holding Your Mirror to the Wall?
Check your existing mirror hardware before installing Add A Frame®.

Flat Metal Clips
Low-profile metal clips typically allow the frame to sit flat against the mirror. Cut away the adhesive where it comes in contact with the clip, allowing the frame to lay flush.

Plastic Clips
Bulky plastic clips may need to be replaced with flat metal clips before installing your frame. We offer these for free with your purchase.

J-Channel
Add A Frame® can be installed over mirrors mounted with J-channel. Follow the installation instructions for proper adhesive placement.
Framed Mirror Installation
Follow these steps to securely mount your framed mirror using the provided hanging hardware.

- Review Your Hardware Confirm that you have the included hangrail, anchors and mounting hardware before beginning.
- Position the Hangrail Measure and mark your desired mirror placement, then level the hangrail on the wall.
- Secure the Hangrail Install the appropriate wall anchors and fasteners for your wall surface.
- Hang the Mirror Carefully lower the mirror onto the installed hangrail.
- Level and Secure Make any final leveling adjustments and install the remaining safety hardware according to the instructions.
Metal Framed Mirror Installation
Follow these steps to securely mount your metal framed mirror using the provided hanging hardware.

- Review Your Hardware Confirm all mounting hardware is included before starting.
- Measure and Mark Determine the desired mirror position and mark the mounting locations.
- Install the Wall Hardware Secure the mounting hardware according to the provided instructions and wall type.
- Hang the Mirror Carefully position the mirror onto the installed hardware. Larger mirrors may require two people.
- Check the Final Position Confirm that the mirror is level and fully secured before releasing it.
Designer Mirror Installation
Follow these steps to securely mount your designer mirror using the provided hanging hardware.

- Check the Mounting Hardware Identify the mounting points and confirm the intended hanging orientation.
- Measure Your Placement Mark the desired mirror height and mounting locations on the wall.
- Install Wall Fasteners Use fasteners appropriate for your wall type and the weight of your mirror.
- Hang and Level Carefully mount the mirror and confirm it is secure and level.
Installation FAQs
My mirror has plastic clips. What should I do?
Can Add A Frame® be installed over J-channel?
Should I test fit Add A Frame® first?
Do I need two people to install my mirror?
Still Need Help?
Not sure about your mirror clips, mounting hardware or installation? Send our team a photo of your mirror or mounting setup and we'll help point you in the right direction.
Contact Us